CollectiveBot
Installation
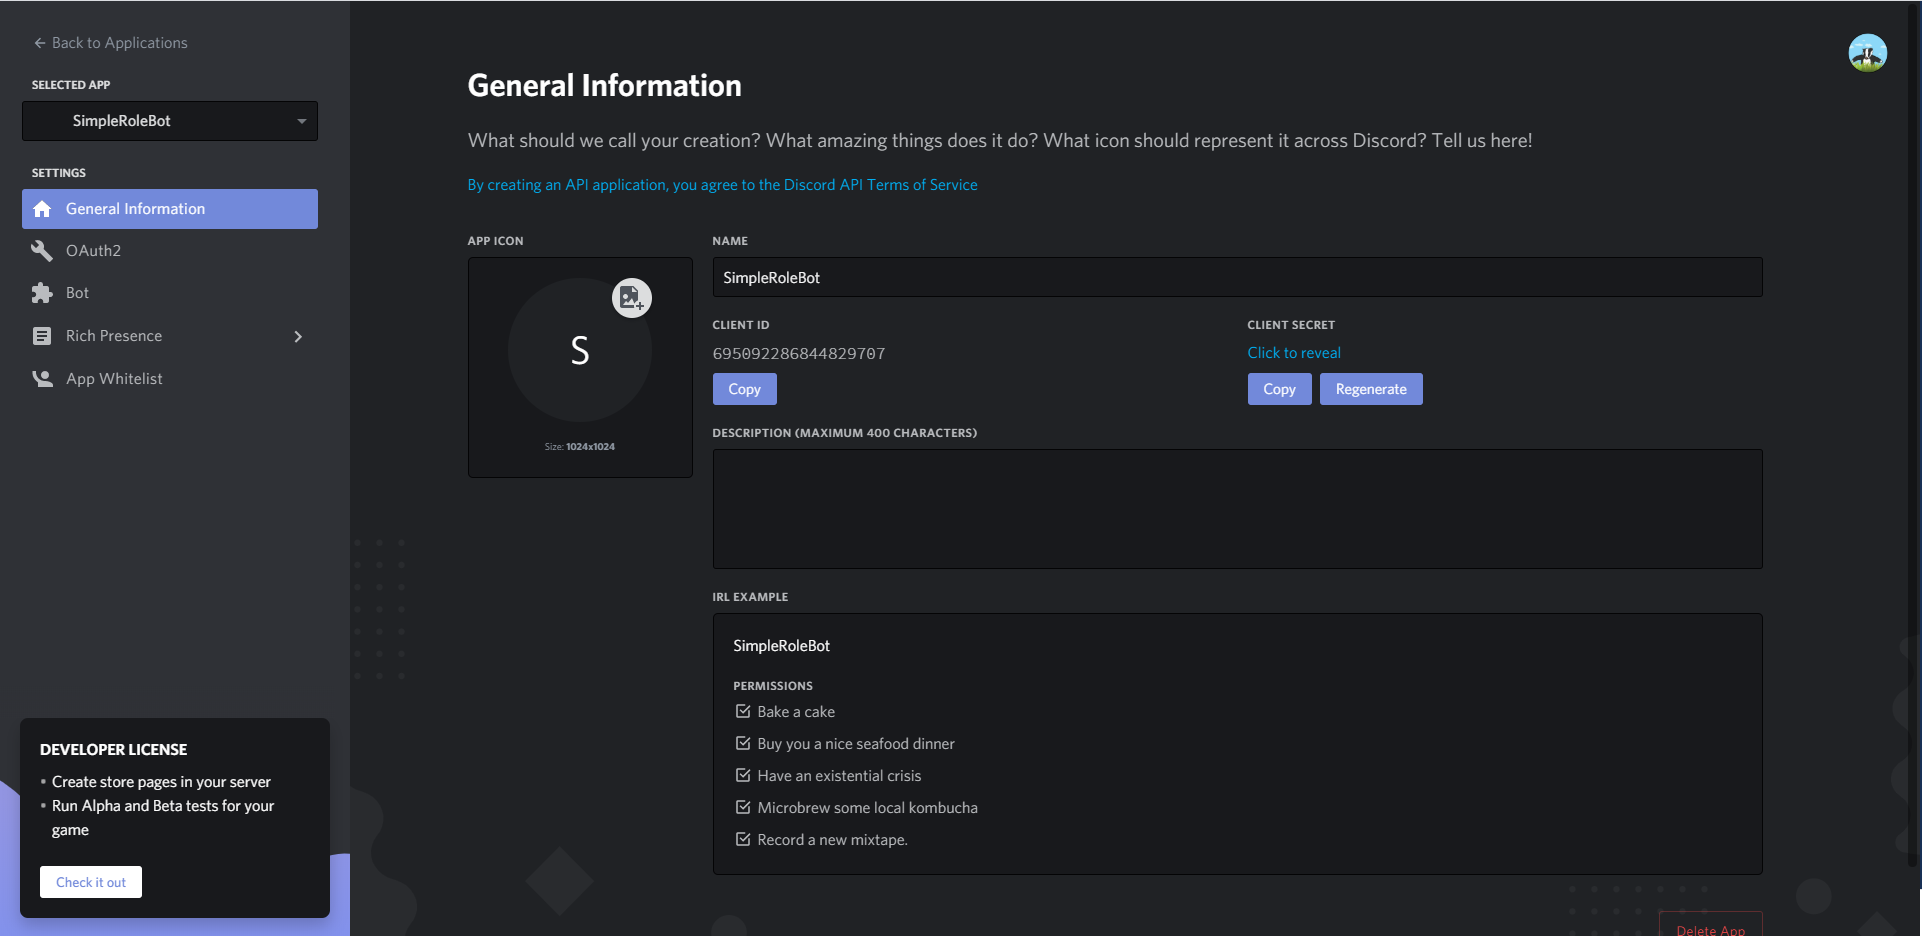
Navigate to https://discordapp.com/developers/applications

Click on
New Applicationthen name the bot what you would like (howeverCollectiveBotmakes the most sense)

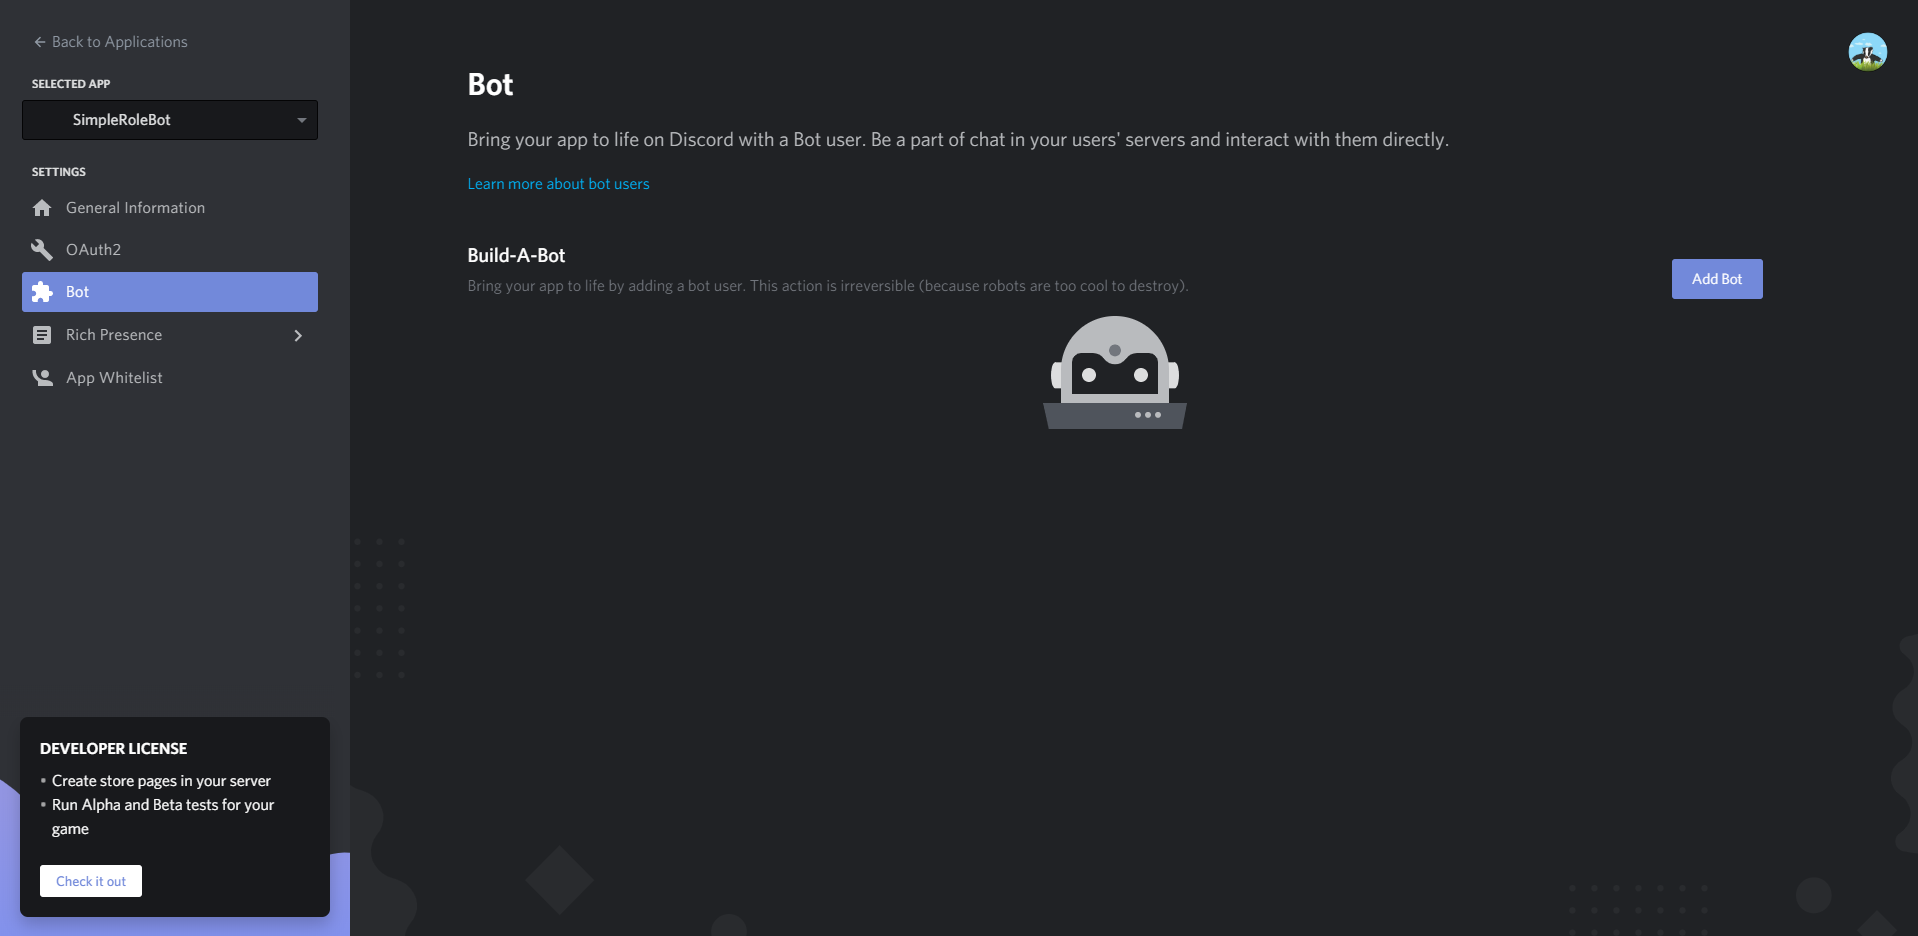
Click on
Boton the side bar

Click on
Add Bot

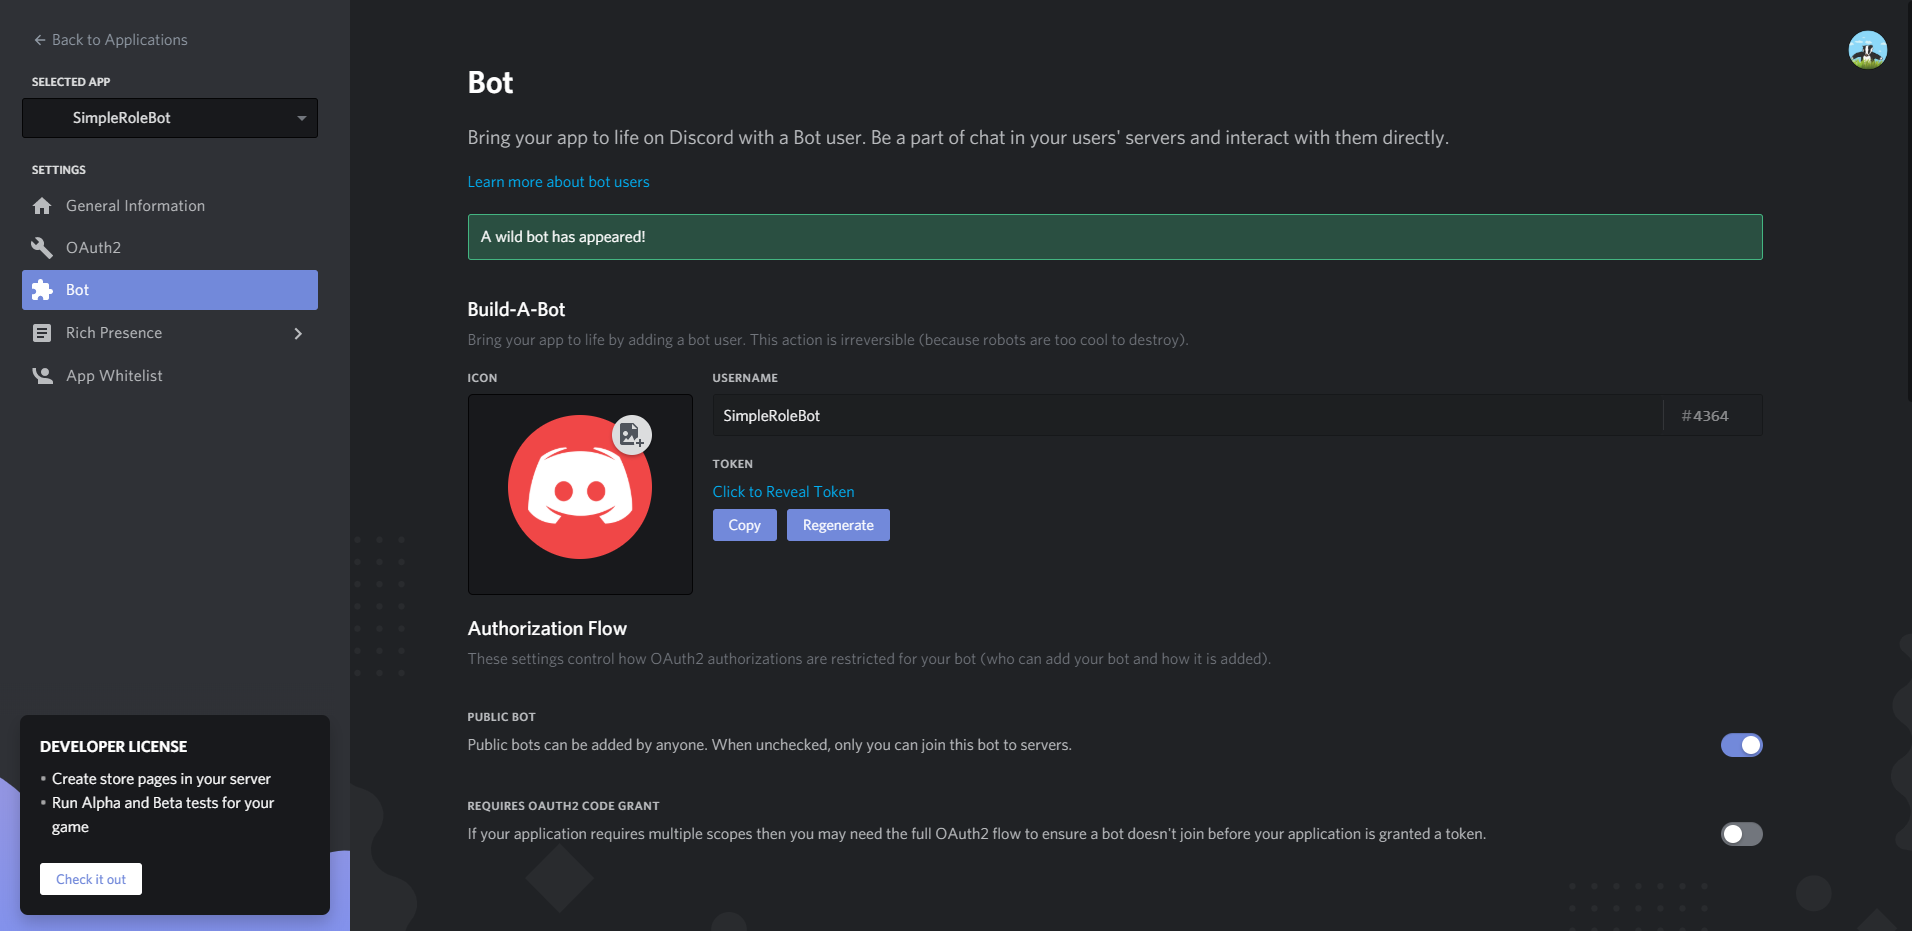
Click on
Copyto copy your tokenNavigate to https://github.com/TheWolfBadger/CollectiveBot/releases and download the latest release
Extract the .zip file you download
Navigate to the config.yml within the now extracted directory
You should see something like this:
You now will want to place that token you copied and place it into the
''that comes afterBotToken:After doing this, save the config.yml file
Go back to the applications page of the discord developers site
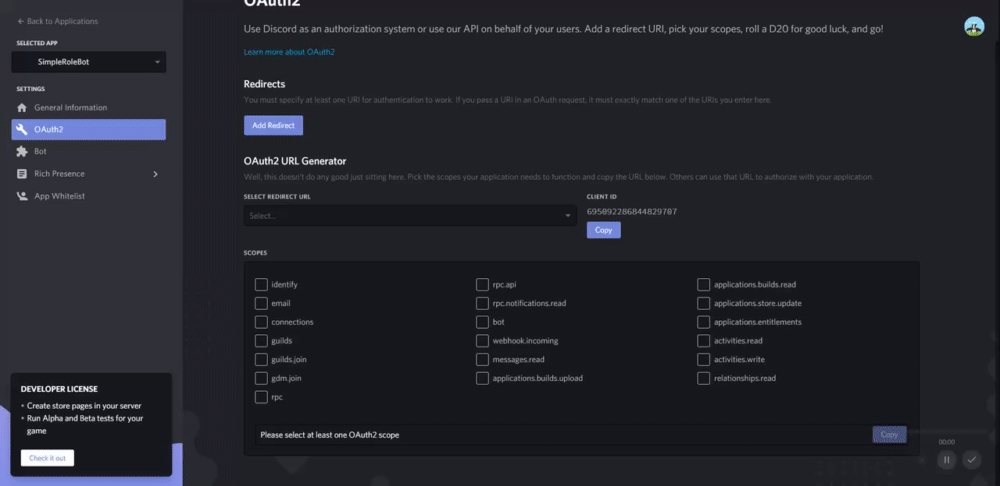
Click on
OAuth2

Do exactly as is done in the GIF on the
OAuth2Paste this link you just copied into your browser, then invite the bot to your discord server you'd like the bot on
You can invite this bot to as many servers as you'd like, however you will need to set up configurations for roles for each different server you add it to
After doing all of this, you will have the bot properly set up to run and work on your server.
All you need to do is click
start_CollectiveBot.batfile to start up the bot
Configuring Permissions via RoleIDs in config.yml
You will now navigate to the
config.ymlfile and open itWe now need to understand how the configuration works
The keys for most of the configuration are pretty straight forward
SuggestionRolesis a list in which you can add multiple roleIDs under and they will be able to move suggestions to the approved and denied channels by adding the approved or denied emoji to the suggestionSuggestionChannelsis a list in which you can add multiple suggestion channel-IDs and they will then automatically be given an AcceptEmoji and DenyEmoji when a message is posted within that channel
Any further questions and/or concerns?
You may gather more support personally and from other members of the Badger Developer Community over here.
Last updated